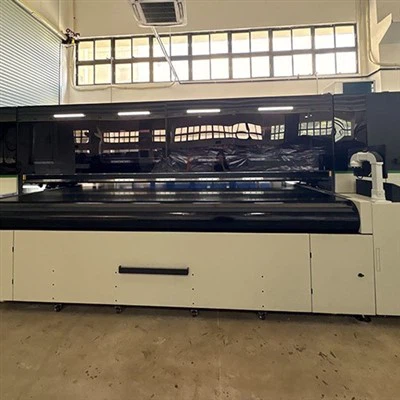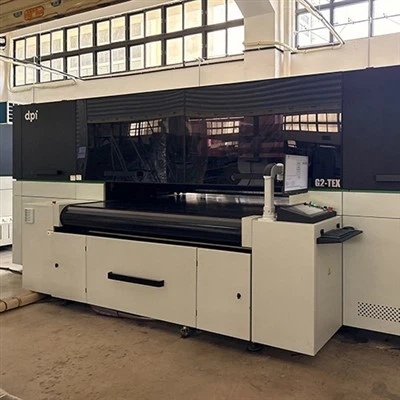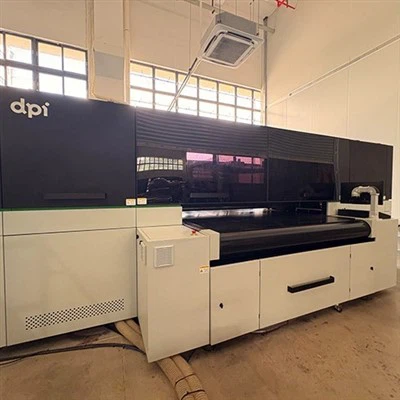


As a high-precision digital printing device, the installation quality of a scanning digital inkjet printer directly affects the stability and output accuracy of its subsequent operation. Because the equipment involves the coordinated operation of multiple modules such as precision mechanical transmission, electronic control systems, and fluid transmission, it is essential to strictly adhere to technical specifications and proceed with the installation process in stages to ensure full performance release.
Preparation before installation is paramount. The site must meet requirements for constant temperature and humidity (recommended temperature 20-25℃, relative humidity 40%-60%), adequate ground load-bearing capacity (usually no less than 500kg per square meter), and dust and vibration protection to avoid environmental factors interfering with equipment accuracy. Simultaneously, power supply configuration should be planned in advance-an independent grounding line is required, voltage fluctuations should be controlled within ±5%, and sufficient space should be reserved for printhead maintenance and media loading/unloading. Regarding tools, professional equipment such as a level, torque wrench, and anti-static gloves should be readily available to prevent electrostatic damage to electronic components or installation deviations.
The installation of the main mechanical body must be centered on "level calibration." First, smoothly position the machine frame, adjusting the anchor bolts to ensure the longitudinal and lateral levelness error of the machine body is ≤0.02mm/m (multiple measurements can be taken using a precision level). Next, install the guide rail system, focusing on checking the parallelism between the guide rail and the frame (tolerance ≤0.05mm/total length) and the uniformity of the slider's sliding resistance to avoid mechanical jamming affecting scanning trajectory accuracy. The printhead assembly installation is particularly critical: it must be handled in a clean environment, with care to avoid collisions with the nozzles; during installation, align the positioning pins and tighten the screws to the specified torque to ensure the printhead and guide rail movement plane are absolutely parallel, otherwise it may cause ghosting or line distortion in the printing.
The electrical and ink supply system connections must prioritize reliability. Electrical cables should be connected to the main control board and drive unit according to their labels, with high-voltage and low-voltage wiring separated to reduce interference; sensors, limit switches, and other detection components must be tested for response sensitivity to ensure accurate triggering of scan start/stop, origin reset, and other actions. During ink supply system installation, the piping seal must be checked (a pressure test for 10 minutes is recommended; no leakage is advised). The height difference between the ink bottle and the printhead should meet design requirements (usually ≤1.5 meters) to avoid ink interruption due to abnormal siphoning. Before the first ink refill, the piping must be thoroughly cleaned to prevent impurities from clogging the nozzles.
After installation, system commissioning is required: first, conduct a no-load test run to observe whether the printhead movement is smooth and without abnormal noise; then import a standard test pattern to check the straightness of the printed lines, color uniformity, and registration accuracy (error should be ≤0.1mm). If deviations are found, the mechanical parameters or software compensation values need to be recalibrated. Proper installation is not only a prerequisite for equipment commissioning but also extends the lifespan of key components, providing a solid guarantee for efficient and high-precision printing.