


Hey there! As a wireless microphone supplier, I know how important it is to keep your mics in tip - top shape. A clean wireless microphone not only sounds better but also lasts longer. So, let's dive into how you can clean your wireless microphone effectively.
Pre - Cleaning Preparations
Before you start cleaning, it's crucial to power off the microphone. This is a no - brainer as you don't want to risk any electrical damage or short - circuits. Unplug any cables connected to it, like the power cable or the receiver cable.
Next, find a clean, well - lit area to do the cleaning. A clutter - free workspace will help you focus and prevent any small parts from getting lost. You'll also need some basic cleaning supplies. A soft, lint - free cloth is a must - have. You can also use a can of compressed air, which is great for blowing out dust from hard - to - reach places. And if there are stubborn stains, a small amount of isopropyl alcohol (around 70% concentration) can be used, but be careful with it.
Cleaning the Exterior
Let's start with the outside of the microphone. Take your soft cloth and gently wipe down the body of the mic. This will remove any fingerprints, dust, or smudges that have accumulated over time. Pay special attention to the areas that you hold the most, like the grip.
If there are some sticky spots, dampen the cloth slightly with the isopropyl alcohol. But don't soak it! Just a little bit of moisture on the cloth is enough. Then, carefully rub the sticky area until it comes clean. After that, use a dry part of the cloth to wipe away any remaining alcohol.
The microphone grille is another important part of the exterior. It's where the sound enters, and it can get clogged with dust, hair, and even small particles of skin. You can use the can of compressed air to blow out the debris from the grille. Hold the can upright and spray short bursts of air into the grille. If there are still some stubborn bits, you can use a very soft brush, like a makeup brush, to gently dislodge them.
Cleaning the Inside
Now, let's talk about the inside of the microphone. This is a bit more delicate, so proceed with caution. First, check if your microphone has a removable battery. If it does, take it out. This will prevent any damage to the battery during the cleaning process.
For the internal components, the compressed air can be your best friend again. You can use it to blow out any dust that has settled inside the microphone. Be careful not to get too close to the sensitive parts, like the microphone capsule. If you're not sure about something, it's always better to err on the side of caution.
Some wireless microphones have removable windshields or pop filters. These can be easily cleaned. You can wash them with mild soap and water, then let them air dry completely before putting them back on the microphone.
Cleaning the Receiver
Don't forget about the receiver! It's an essential part of the wireless microphone system. Just like the microphone, start by powering it off and unplugging all cables. Wipe down the exterior of the receiver with a soft cloth. If there are vents on the receiver, use the compressed air to blow out any dust that may have accumulated inside.
The antennae on the receiver also need some attention. Check them for any signs of damage, like bends or breaks. If they're dirty, you can gently wipe them with a dry cloth.
After - Cleaning Steps
Once you've finished cleaning, let the microphone and the receiver dry completely. This may take a few hours, especially if you used any moisture during the cleaning process.
After they're dry, reassemble the microphone if you took any parts apart. Put the battery back in (if it's removable), attach the windshields or pop filters, and plug in all the cables.
Power on the microphone and the receiver and do a quick test. Make sure it's working properly and that the sound quality is good. If you notice any issues, double - check your cleaning process or contact our support team.
Maintaining a Clean Microphone
To keep your wireless microphone clean in the long run, there are a few things you can do. Store it in a clean, dry case when you're not using it. This will protect it from dust and other environmental factors.
Also, try to keep your hands clean when handling the microphone. Avoid eating or drinking near it, as spills can cause damage.
Related Products
If you're looking for other useful products to go along with your wireless microphone, we've got you covered. Check out our Slim Wireless Charger for Phones. It's a great way to keep your devices charged on the go.

And for those who are into podcasting, our Two - Person Wireless Mic for Podcasting is a must - have. It provides high - quality sound for your podcasting needs.
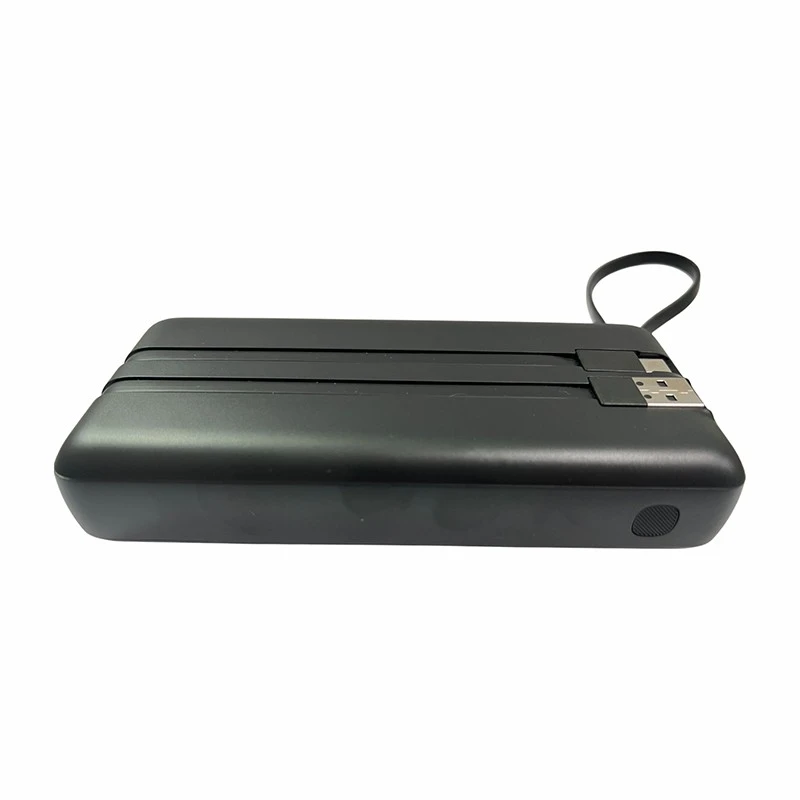
We also have a Compact 10000mAh Power Bank that can keep your microphone and other devices powered up during long recording sessions.
Let's Talk Business
If you're interested in purchasing wireless microphones or any of our related products, we'd love to hear from you. Whether you're a professional musician, a podcaster, or someone who just needs a good microphone for personal use, we can offer you the best products at competitive prices. Reach out to us to start a procurement discussion, and let's find the perfect solution for your needs.
References
- General knowledge from the audio equipment industry
- Manufacturer's guidelines for wireless microphones


